
Geometry Paint is a tool part of Maya 2012 as part of the bonus tools, but this has been in Maya for quite some time now. I will show how to use an artisian brush to paint geometry to another geometry's surface using Maya 2011. I haven't tried this on any version earlier than 2008 but I think it's been implemented as early as that.

Make sure the geometry you want to put on the surface has the pivot on the bottom with Y axis oriented up, and have the transforms frozen at 0,0,0 world space. For the geometry you wish to paint on. It must have UVs and must be at 1001 UV space. If you can't modify the UVs because of existing texture maps, than you could use UV sets to create a second set of UVs.

On the toolbar go to Modify>Paint Scripts Tool Option Box.

If this is your first time you'll need to navigate to the Setup tab.
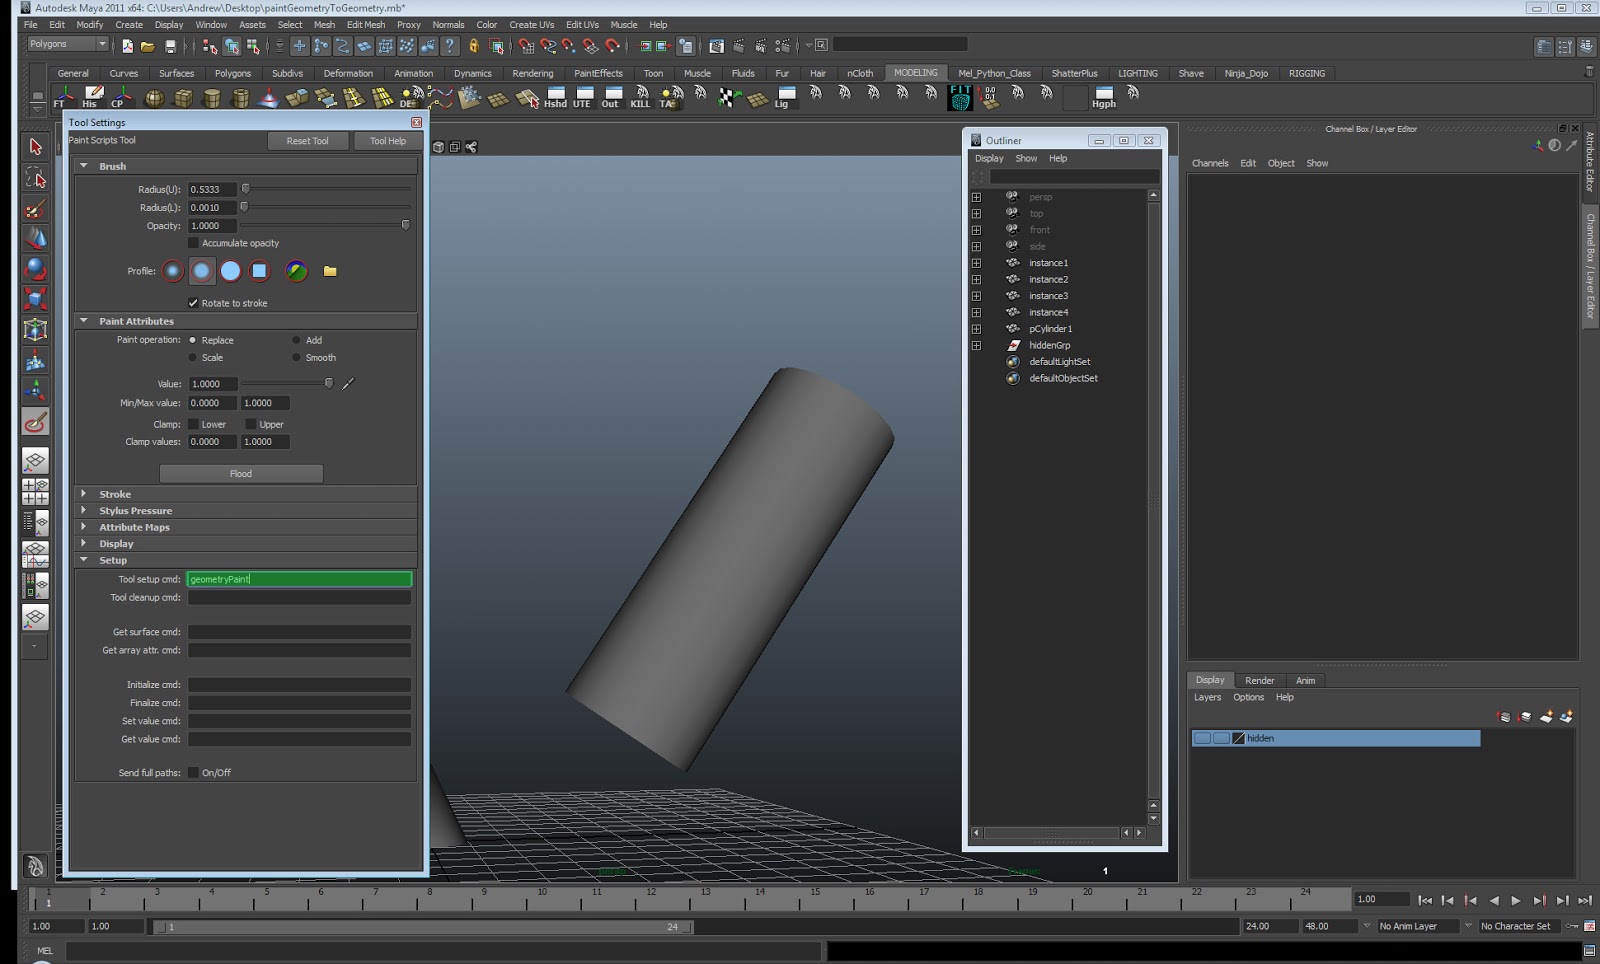
Type 'geometryPaint' into Tool setup cmd and hit enter.

After hitting enter, it will auto complete the rest and pop up another menu.

In Geometry fill in the name of the geometry you wish to paint. In my case, I've named it instance1, instance2, instance3, and instance4. These are the settings I chose to use in this example. I will go over some of the settings below. If you wish the geometry to be instanced have duplicate unchecked.

After you are happy with the placement of the geometries you are free to modify their translation, rotation, and scale. You'll need to set the brush to modify, and name the geometry according to modify the correct ones. For example if instance1 what I input, it will only modify those pieces. You'll need to use the brush settings by using replace/add, and using changing values. It may be easier to just manually rotate each piece after you have all the pieces oriented to get the desired rotation but I thought it would be good to cover the ability to modify through the brush.
Geometry Paint Settings:
One of the important things to take note is the U and V Grid size. In the example below I have it set to 5, and 8. In the below example the surface division level is 10, but the U and V grid size is set to 5. The brush will paint the attach the geometry to the grid point of the U and V grid you specify. In the two examples below I have Jitter Grid disabled so it is placing it uniformly.


With Jitter Grid turned on it will randomize the position of the painted objects. If you play around with Jitter Value it will also have different results.

Align option on and off. It seems to take positive Y as the vector it wants to orient to so make your your instance geometry is oriented correctly.


Below is a link to the documentation for each setting if you wish to learn more about it.
Maya Documentation on each setting